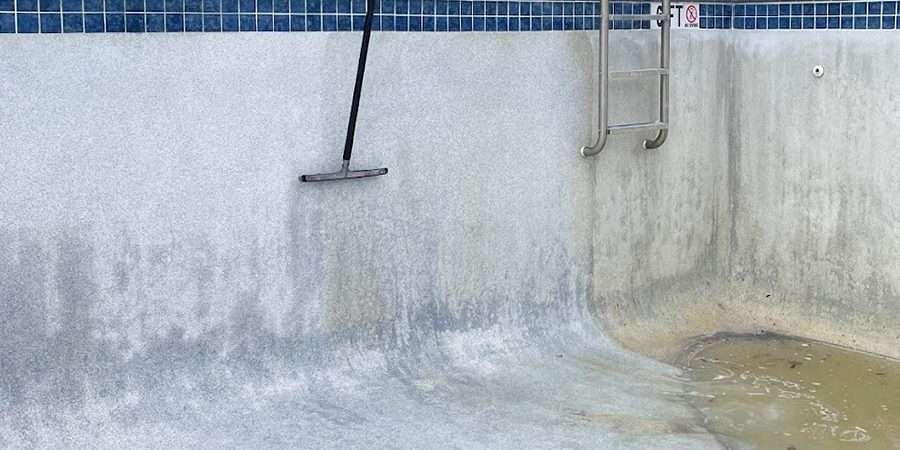
Beware of the sneaky, persistent black algae — Black algae can be a stubborn and dangerous problem for pool owners, it will try to take over your swimming pool! It hangs out in every nook and cranny it can find and loves both sunny days as well as chilling’ in shady spots. While normal sanitizers may not cut it on this adversary, don’t worry – there are special products designed especially for this tougher-than-normal kind of critter.
What is Black Algae?
Black Algae (or blue-green algae) are technically cyanobacteria. They are still considered a type of algae in the pool business. These species are not as common as green or mustard algae. Black algae form a protective layer that is highly chlorine resistant, so it needs to be penetrated for chlorine to effectively kill it. Enzymes can help soften this protective layer.
According to The University of California, Berkeley, cyanobacteria have the distinction of being the oldest known fossils at more than 3.5 billion years old. Besides being a living fossil, an added defense the bacteria possess is that they have an accessory cell wall of polymers. These secretions create a protective outer membrane. This outer layer allows them a greater level of resistance against chemicals we would typically use as algaecides and disinfectants. Colonization only adds additional layers of protection to the bacteria’s level of resistance to chlorine.
Black algae thrives in warm water with high levels of organic matter such as sweat and body oils from bathers. It also needs direct sunlight to survive, so if your pool has considerable shade or if you use a solar cover on your pool during the day, then you may have fewer problems with black algae. If your water levels aren’t falling within the recommended ranges, the bacteria typically enter the pool by other means, either objects or animals that have been contaminated, such as a toy or bathing suit that was recently in a natural body of water, or birds and lizards can also play a big role.
Black Algae can be Harmful
From all the types of algae’s that can grow in pools, Black algae is the worse, its presence promotes bacterial growth and attracts insects. This could mean you’re exposing yourself to bacteria like E.Coli and running the risk of developing a rash and other illnesses. It is best to play it safe and avoid swimming until your pool is algae-free.
How to Treat Black Algae?
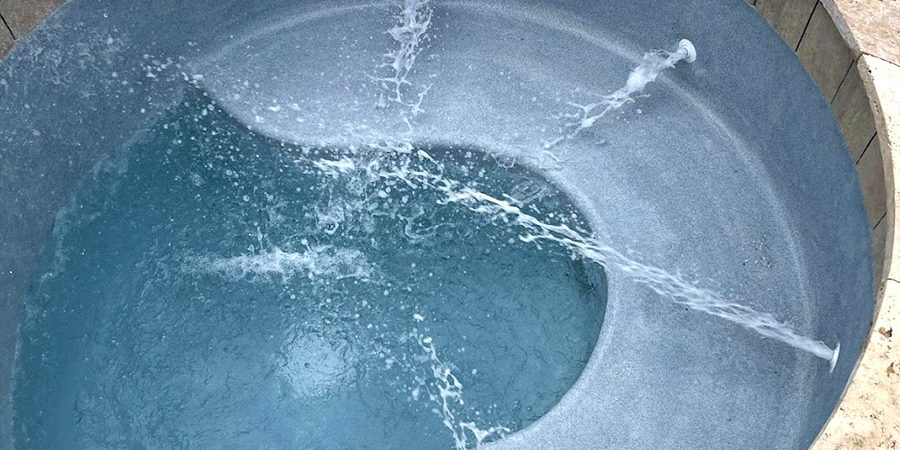
Make sure that your filtration system is working properly and that all of your chemicals are balanced correctly, specially pH and Alkalinity. This will help keep the water clean and free of contaminants that could potentially lead to black algae growth. Below are a few tips that can help get rid of Black Algae.
Use Tablets Break a tablet in half and rub it directly onto the surfaces affected by black algae. This will help kill the roots and prevent it from growing back.